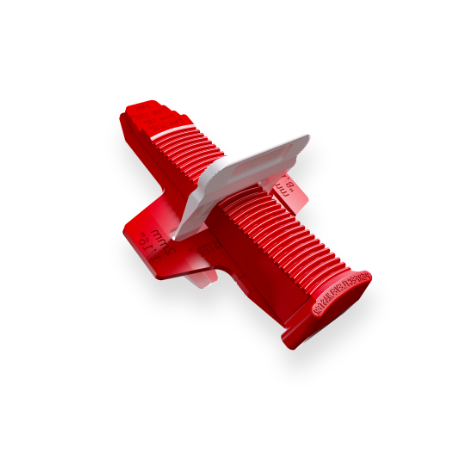
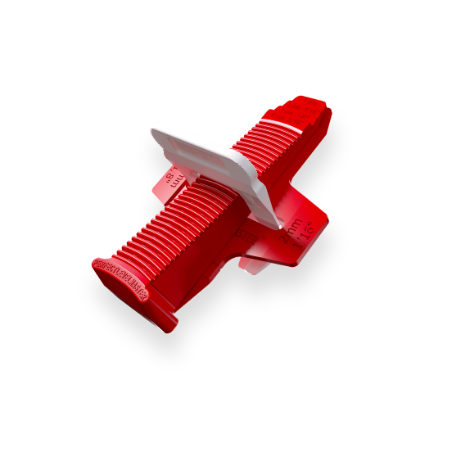
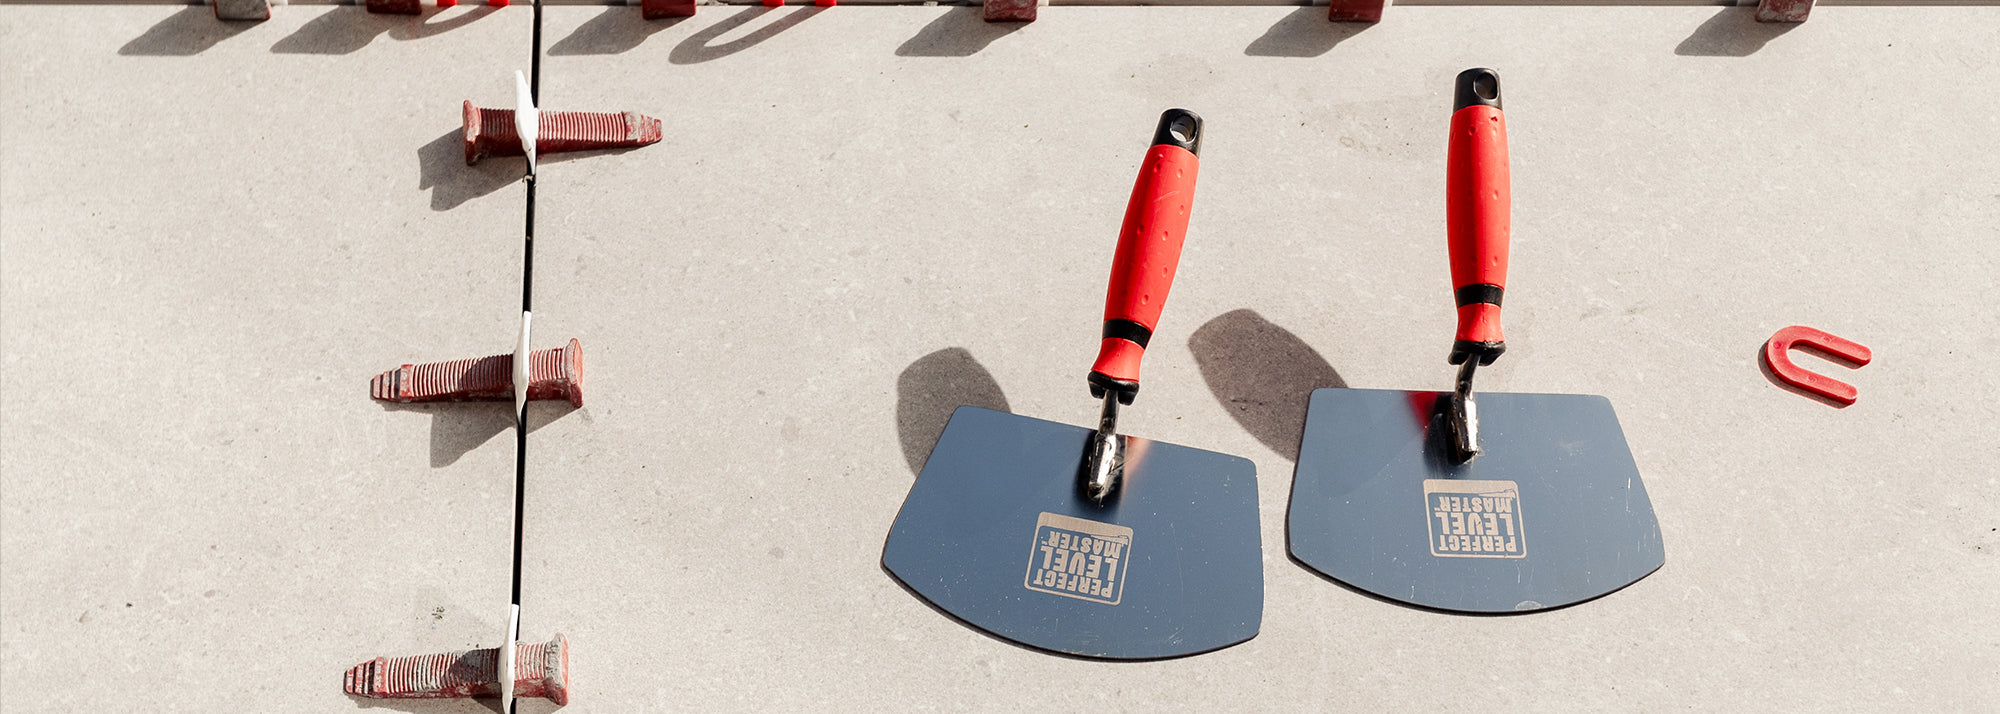
How to Clean: Hand Tools
Spring is in the Air! Making this the perfect time of year to take a look at our job-sites and give them a tidy. Our biggest Spring must-do: Clean Tools.
The backbone of every job site are the tools you bring with you from site to site. While excellent tools make all the difference, a dirty set with excess build up from several month's worth of work will slow you down and have an impact on your install. Here is our step-by-step guide on how to clean your hand-tools!
Before you Start:
First thing first, check in that you have everything you need.
Gather Supplies
-
Bucket full of Warm Water
-
Brushes
-
Sponges
-
Putty Knife
-
Micro Fibre Towels
Step-By-Step Guide:
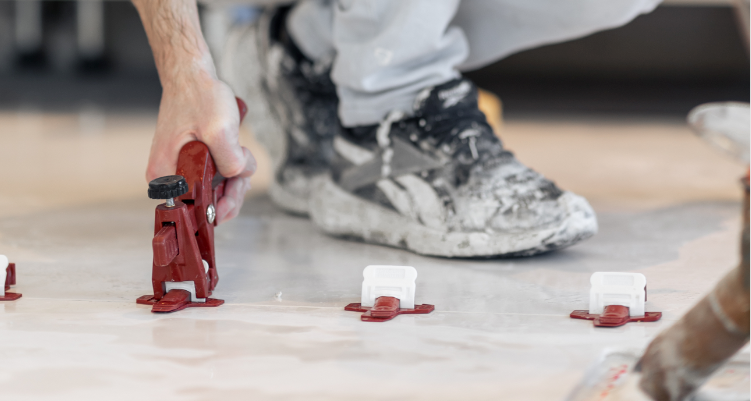
1. Scrape off Excess Grout & Mortar
Use your putty knife to remove any dried grout or mortar from the surface of all tools.
If necessary: Soak difficult to remove tools in bucket, allowing the grout or mortar to soften!
2. Scrub Tools
Use long handle scrub brush and dry scrub all of your tools. Focus on crevices and hard to reach areas.
Pro Tip: Avoid using a wire brush as will scratch the plastic.
3. Rinse
Use water and a sponge to remove any left over residue.
4. Inspect for Damage
Now that all the grout and mortar has been removed, check for any damage incurred from previous installs. Look for cracks or anything that might need replacement.
5. Dry Tools
Use your micro fibre cloth to pat dry the tools then hang to dry!
You're all set! Head to your next job with clean and ready to use tools.
Find any damaged tools in your toolbox? We can help with that.

Join our newsletter!
Get updates on upcoming sales, installation tips, promotions and many more exclusive perks!